
Once upon a time, someone was having a pretty typical day, whether at work or college and out of nowhere, he finds himself facing an urgent situation, where someone is in deep need of massive help that could be mandatory to save his life. The question here is: does anybody know the principles of first aid?
Throughout this short situation, we can come out with the central concept to discuss, first aid importance and steps to learn how to do it. First aid is actually like a life jacket that saves someone from intense danger.
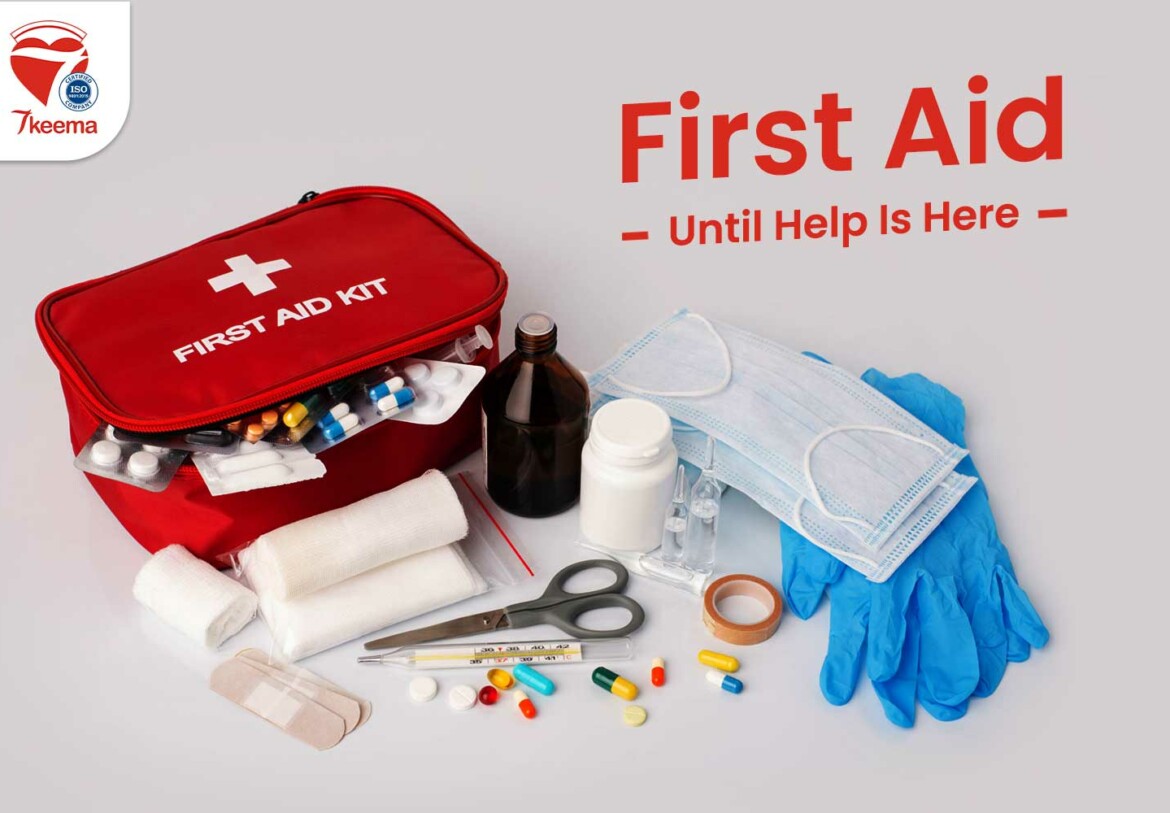
For instance, first aid is a series of steps that follow each other, which anybody could learn without previous medical experience. It aims to give the patient temporary help until genuine medical assistance or an ambulance is here.
Knowing the first aid steps and the principles are not linked to medical staff only, whether doctors or nurses. It should be well known by as many people as possible to ensure having someone ready to help whenever and wherever needed.
In fact, first aid is divided into many types and categories that suit every condition and situation. For example, there’re steps related to containing angina to stop bleeding, while burns are also covered.
So, let’s go deeper into details to know more about the main first aid steps.

General Examination
First things first, in order to start proceeding in giving the proper help, the paramedic should begin with a quick assessment to understand the injured actual state and accordingly gives what is actually needed.
The examination is a set of many steps that should occur in a particular order as follows.
1- Consciousness check: the help giver should assess the patient’s level of consciousness; is he awake? Is he responding to any instructions? Can he speak? These questions should be rolling into the help giver’s head.
2- Check pulse: put two fingers on the patient’s neck while counting the rate of detected heartbeats on his watch. Typically, the pulse would vary between 60-100 heartbeats per minute; if it’s less, it could be due to bleeding.
3- Check blood pressure: if it’s available within the area to have a blood pressure device, try to use it. Systolic blood pressure would normally be between 60 and 90, while diastolic blood pressure varies between 100 and 140. You can check this article for more information about blood pressure.
4- Check temperature: using a thermometer if available or through skin detection to at least indicate if there’s any temperature increase or decrease.
5- Skin colour detection: skin colour could be an indicator in many cases. For example, if it’s reddish, it could be due to fever, poisoning, allergies, or burns. In comparison, pale skin indicates bleeding, fear, or shock. Blue skin can be due to a lack of oxygen or choking. And if it’s yellow skin, it could be due to liver issues, poisoning, or gland problem.
6- Check eye pupils: checking how they respond to light and how wide they are. Wide pupils would indicate brain bleeding, and if it’s only onside wide, it could reveal the injured side of the brain. On the other side, a narrow pupil could indicate alcoholic poisoning. However, if pupils do not respond to any act or light, it could be due to a massive brain injury.
7- Check chest movement: to indicate if the patient is breathing naturally. In general, the movement rate could be between 12-16 movements per minute. Any disorder in breathing rate would indicate a choking or broken rib.
8- Sweating: it would indicate several cases and conditions according to its temperature. Cold sweat is evidence of a shock, while hot sweat means a sun strike, being subjected to high temperature for a long time, or high sugar levels into the bloodstream.
9- Spot the pain: to know if there are any broken bones, which requires not moving the patient until professional help arrives.
10- Check limbs movement: it could indicate an injury into vertebral or any of legs and arms.

Cardiopulmonary Resuscitation (CPR)
One of the main first aid steps is essential in many cases and could be lifesaving if the patient has angina, heart attacks, or when heartbeats or breathing rate decreases gravely.
First aid during a heart attack or angina is proceeded by constantly pushing down the patient’s chest at a specific rate. The help giver should place a palm over another, while the lower one is directly on the chest, then starts pushing using all his body, without bending his elbows. This technique ensures having enough force without causing any ribs fracture.
The next step depends on how trained and experienced the help giver is; if it’s the first time he can provide such help or is not confident, he should stop by this far. Alternatively, if he’s well experienced, he can proceed by the rescue breathing. The chest compressions to rescue breathing rate is almost 30:1; every 30 push, one rescue breathing should be given. If the help giver only uses the chest compression technique, it should be around 100-120 press per minute.
To simplify it, let’s spread first aid CPR into a few steps:
1- First aid giver should ensure that the patient is laying down on his back, on top of a smooth and fixed surface.
2- The helper should then kneel beside the patient, near his neck.
3- Put a hand palm right in the middle of the chest, then place the other hand right on top of it.
4- Using bodyweight to give these compressions.
5- Give space between each press to let the chest rebound.
6- 100-120 press per minute as an average rate.
7- If proceeding to rescue breathing, the first aid giver should ensure clearing the patient’s airway by tilting his head backwards and pushing his forehead with one hand while the other hand lifts his chin.
8- Start the rescue breathing by putting the mouth on the mouth and giving one breath for one second.
9- The first aid giver should notice if the chest moves up and down due to the first breath. If yes, he shall proceed into the second one; if no, he shall make sure the airway is clear and start all over the steps again.
10- These steps should be followed respectively and constantly until the patient responds or receives medical help.

Choking First Aid
Recognising the choking patient could be through different symptoms, such as difficulties breathing, snoring, and blue skin around lips and nails.
The following steps could provide the main first aid needed for the patient:
– Take the patient far from the incident location if possible.
– Clear the airway, and make sure nothing is blocking it.
– Proceeding into rescue breathing as explained previously.
On the other side, if the patient is choking due to something blocking his airway, the first aid provider shall follow these steps:
– Stand behind the patient.
– Surround him with both arms, and lock them underneath his rib cage.
– Moving arms instantly upward and inward at the same time.
– Repeat this move from 4 to 6 times until the patient spits the blocking object.
Burns First Aid
In case of burns, the first aid provider should determine first how deep the burn is; mild and moderate burns could be detected through several symptoms as follows:
– Surface red skin.
– Pain around the injured area.
– Its diameter doesn’t exceed 8 centimetres.
– Blisters could pump out around it.
Usually, this kind of burn doesn’t require urgent first aid procedures.
However, burns first aid procedures should be given in case of deep and severe burns, which have these symptoms:
– The burn is deep into skin layers.
– Skin dryness.
– Developing some white, brown, or black spots in the injured area.
– Diameter is over 8 centimetres.
According to these symptoms, the following first aid steps should be followed:
1- Take the patient far away from the fire source, and if it’s due to electricity, the provider should cut it off entirely before giving any help.
2- Ensuring the patient is breathing and starting with CPR steps if necessary.
3- Get rid of any jewellery, accessories, or belts.
4- Use a clean and cool rag to cover the burn area.
5- Do not use cool water with deep burns. It could lead to many more severe complications.
6- If possible, the first aid provider should lift the injured area over the hurt level.
7- During all these procedures, the patient consciousness should be monitored, and if he goes into a coma, the helper should start with CPR procedures immediately.

Bleeding First Aid
If the patient is bleeding, some steps should be followed after making sure he’s breathing fine and checking his pulse.
What concerns the wound, the first aid provider should follow these steps in order:
1- Get rid of cloths around the bleeding area, do not try to eject the cutting tool causing the wound if it’s still there. First aid here aims to stop the bleeding until help is here.
2- Using gloves, if possible, or sanitising hands.
3- Using a sanitised bandage or a clean rag to cover the wound.
4- Press it against the wound using a hand palm until the bleeding stops.
5- Lift up the injured limb if possible.
6- Let the patient lay down, and contain his fear and panic.
7- Do not remove the bandage even if blood keeps going out through it; just cover it with another one.
8- Try not to move the injured area as much as possible.
First aid procedures are essential to know; anyone could face a situation where his help would make a difference. Knowing about it is not only for medical staff. It could be practised by anyone until medical assistance is provided.